This weekend my dad was in town, so I thought we'd quick overhaul that little freebie cabinet shell I brought home. I pictured a simple process (maybe 4 hrs or so Sat. AM) of adding a control panel, allowing for a marquee, and mounting the monitor. As per usual, I am cursed with a propensity to vastly underestimate the time it takes to do something.
To begin with, we decided the best way to start was to completely disassemble the unit.

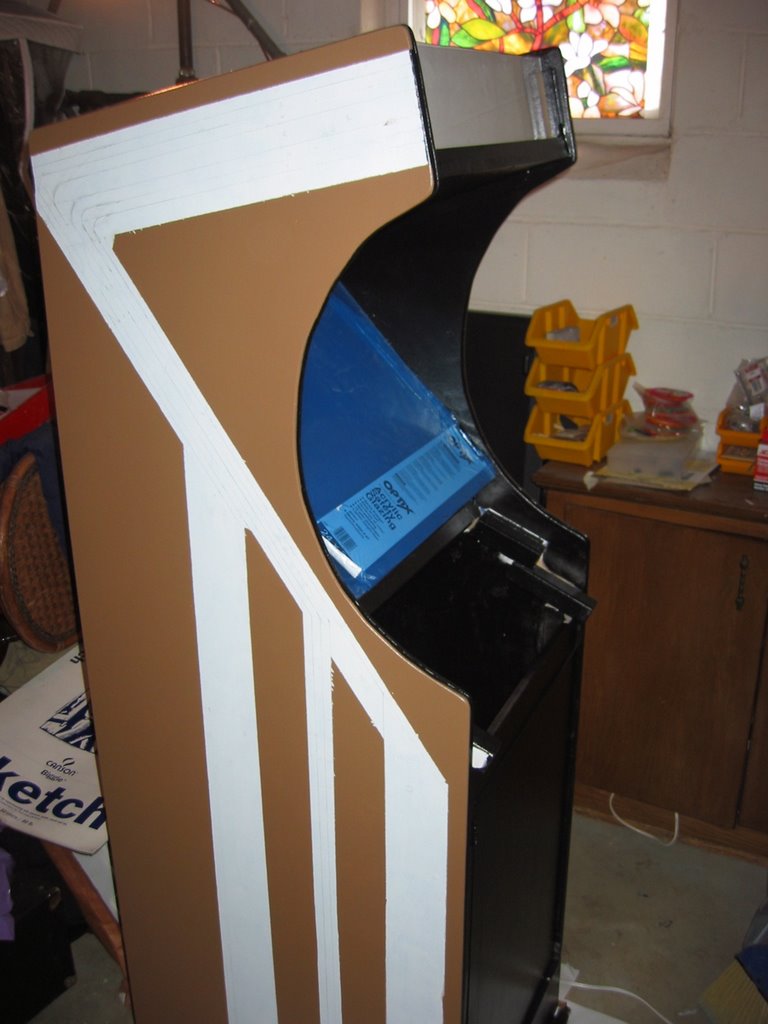
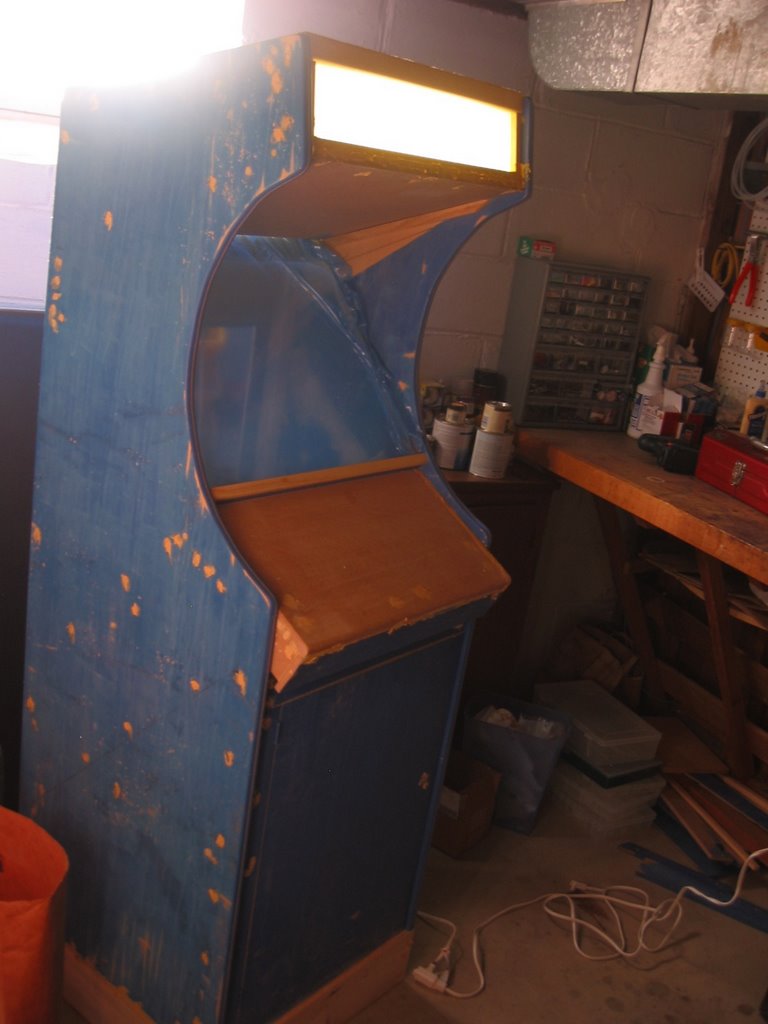
I figured that as long as we were going that far, I may as well take off the crappy atari side art, since it was low-res and bubbling up in places anyways. One of the pieces came off in on sheet, so I hung it up in my workshop, but it left behind a vast tract of sticker detritus that took us a long time to get off completely, even with the help of some Goo Gone adhesive remover.

Note: Goo Gone is not the same thing as Goof Off (a product I'd already used which would eat through any adhesive in seconds). Goo Gone is a slow-acting citrus blend that takes forever and doesn't really have what it takes to get off that much sticker. After going through over half the bottle, we gave up on it and insttead resorted to the trusty belt sander.
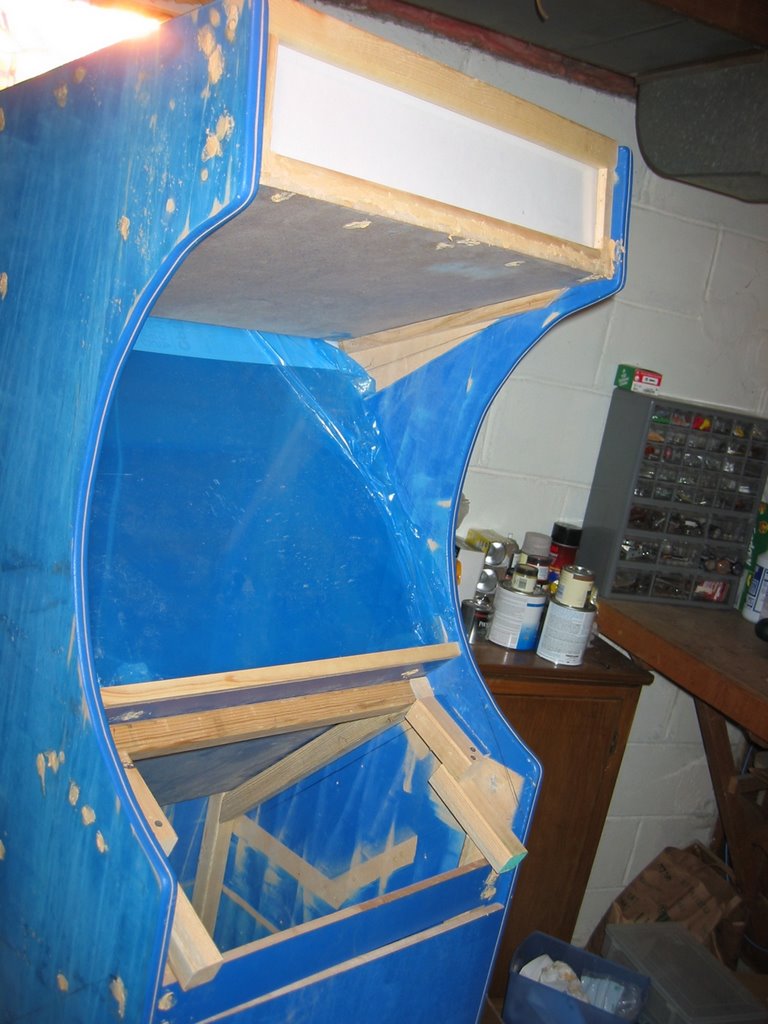
After that, we had all our pieces ready to roll and took a look at them. Since the original Cabinet maker used *very* thin MDF (most of it was 1/2", the side walls were a whopping 5/8") and did a whole lot of shooting screws into the edge of said MDF, there were tons of spots where the wood was splitting. So we then set about figuring out what it would take to put it back together in a way that would be more structurally sound than the original. We decided to use 2"x2" lumber to reinforce all of the edges and provide rail supports for everything (rather than screwing into the edges). This proved to be a good approach, but meant we were effectively re-using the lumber to completely rebuild it. This was a good idea, but a time consuming one. By the end of the first day we had it free-standing again, but the monitor still wasn't mounted, there was no control panel, and it was rough sanded down to look worse than it started by far.

Note also, that when working in the frigid climates such as I am here in Minneapolis, it helps to have a 30,000 BTU propane heater in a sealed garage. We were able to work without gloves and coats (though it was pretty loud whenever we ran it).

We also found that sealing all the holes created by the original manufacturer (as well as covering up all our screwups since we were building without plans and made frequent messups thanks to the wide variety of angles & curves going on) that a bit of wood filler does a great job. It looks like someone did a drive-by shooting on it but has sanded down smooth and will hopefully be completely unnoticeable when I finally get around to priming & painting it.

So at last we were at a point where we had decided the angle to put the 19" Dell CRT monitor at, and dropped it in. As expected, it was way too big for the little 24"x24"x66" cabinet. As you can see, it will be sitting on its side since this will be an upright-dedicated cabinet.

After much option-considering, we finally determined that the primary importance was the user's experience (not the sanctity of the crappy MDF) and so chopped a whopping hole in the back for the monitor to poke its butt through. Hack? Definitely! Does it work? Yup!

We also mounted a board across the back above the hole to reinforce it. And, to prevent sliding left/right (and keep it centered) mounted some 2x2 on the monitor shelf to keep it in place. The monitor is still primarily held in by gravity at this point, but due to how tightly it's wedged into the hole in the back, it won't be going anywhere unless the cabinet gets some serious abuse or is knocked over. At this point i was pretty happy with the direction it was heading.
Enter the challenge of providing a mounting structure for the plexiglass that will serve as a shield and bezel for the monitor. I ultimately decided to go with a similar approach to what
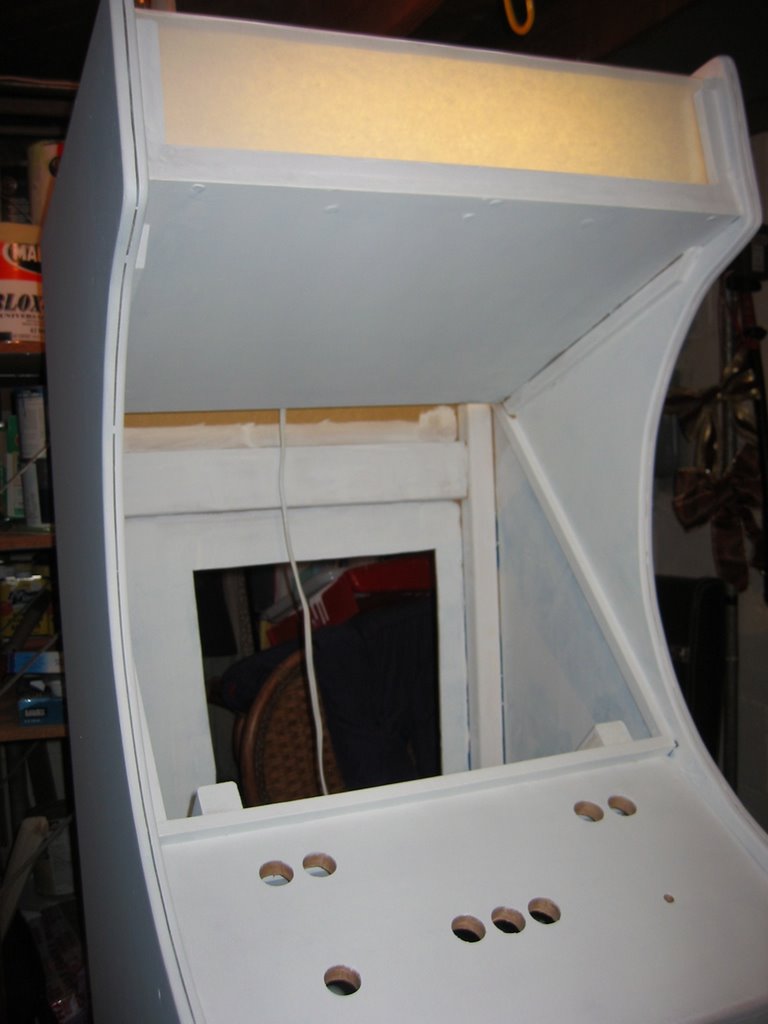
DanW & Theo used on their Aarghcade and Time Machine cabinets. Essentially, rather than building a complex picture-frame-esque bezel system, they just dropped a single pane of plexi down, which was masked & painted black on the back side. That said, it was still quite a challenge to figure out how to mount a rail system for them to rest on, yet keep it easy to slide in & out since removal is crucial for getting the monitor in/out or turning it on/off if need be. Not something that will happen at all regularly, but it seemed a good idea to make it easy to get in & out to remove the monitor when moving the cabinet, etc. In combination with the plexi removal, we wanted the inner ceiling simple to remove too since both that & the plexi would need to go in order to allow the monitor to come out. Both the inner ceiling & the plexi will ride rails.
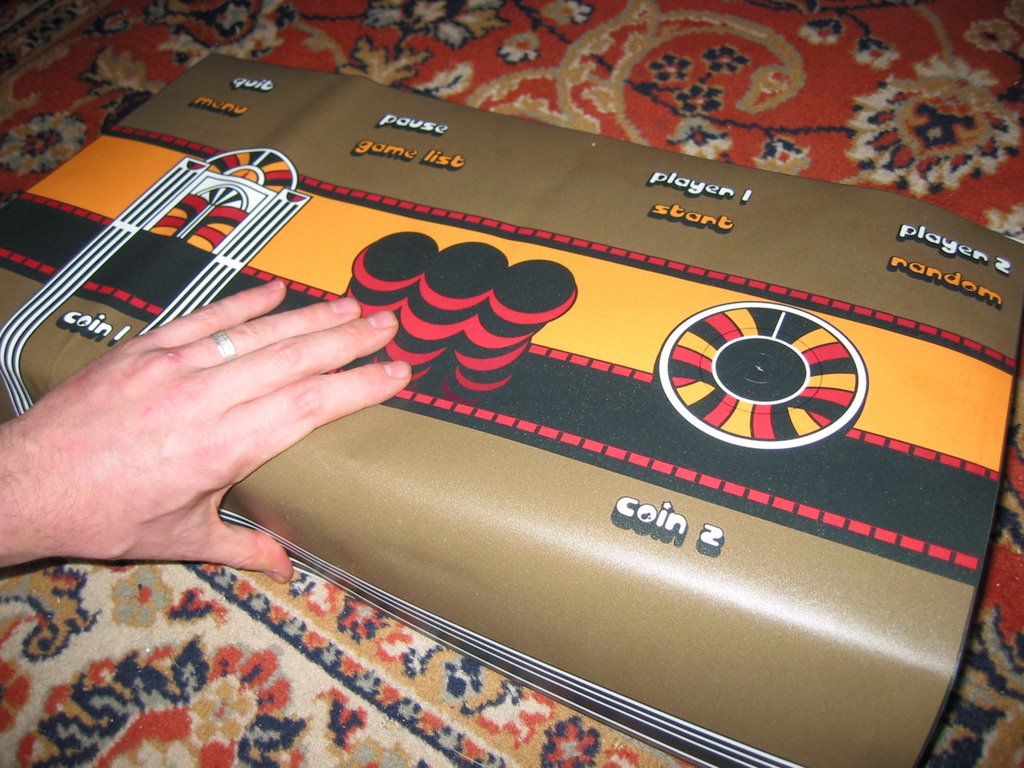
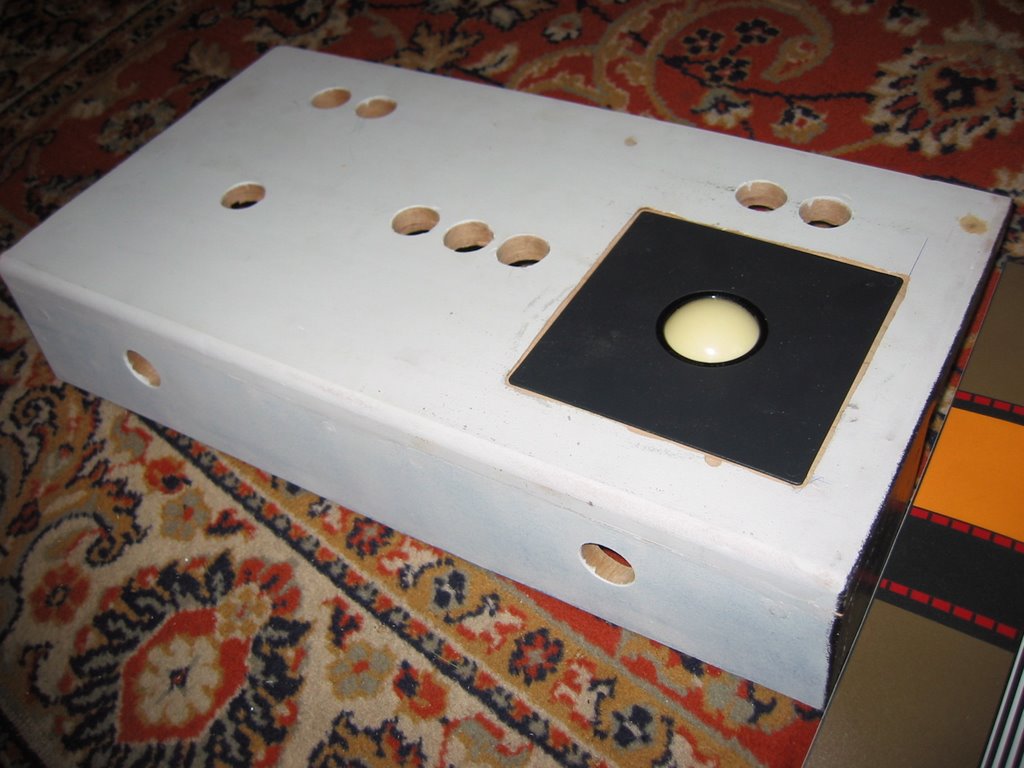
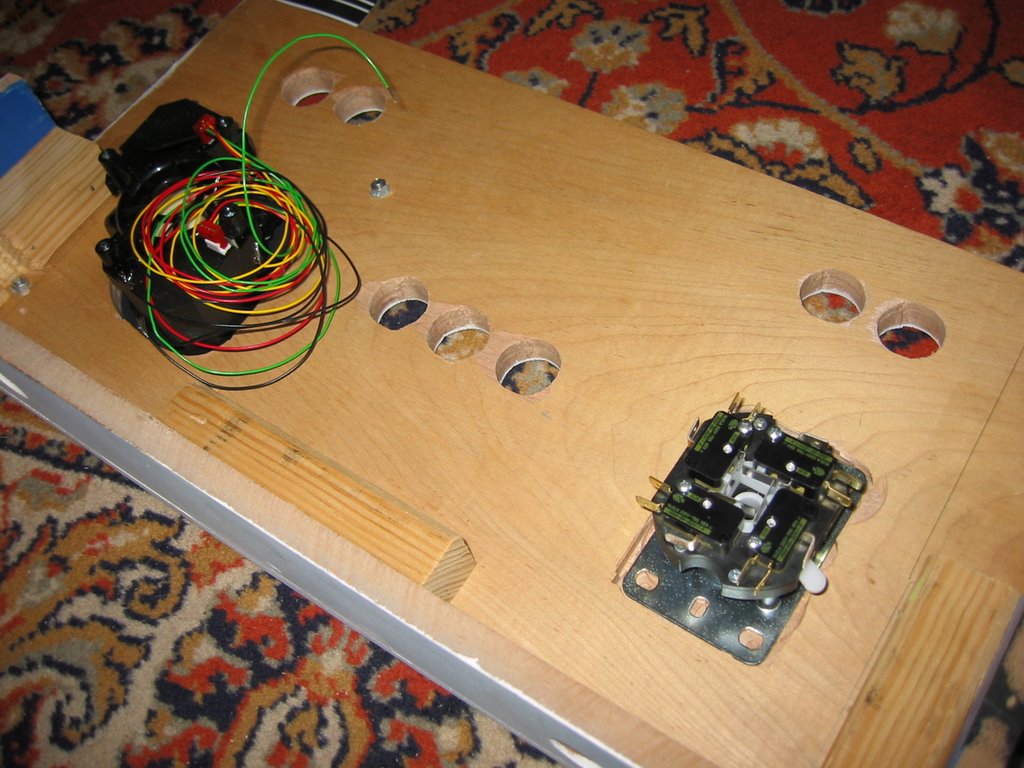
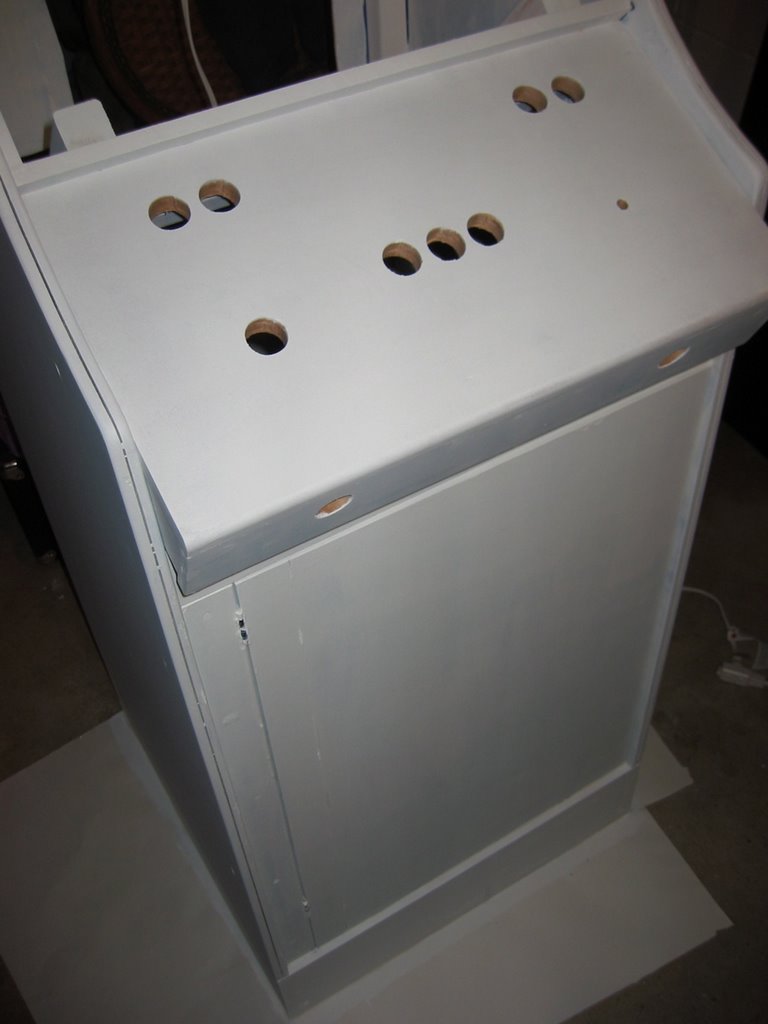
The control panel was intended to be something of a cross between a classic defender cab's shape and a more traditional elevator action-style shape. We reused the cp box from the original, but attached a nice piece of maple to the top. Once attached, we routered the corner to make a rounded edge since buttons/controls will be on the top surface and more buttons (for coin/Player starts) would be on the vertical portion. This turned out really good until we got the idea to use the slot cutter router bit to add a groove for some t-molding along the edges. Strangely enough, a 1/2" deep slot cutter, when used on 1/2" MDF, cuts through it! Who knew? :) We gave up on the t-molding idea and puttied it in. The CP will ultimately have a vinyl overlay sticker applied to protect it, so none of those issues will hopefully be noticeable in the end.
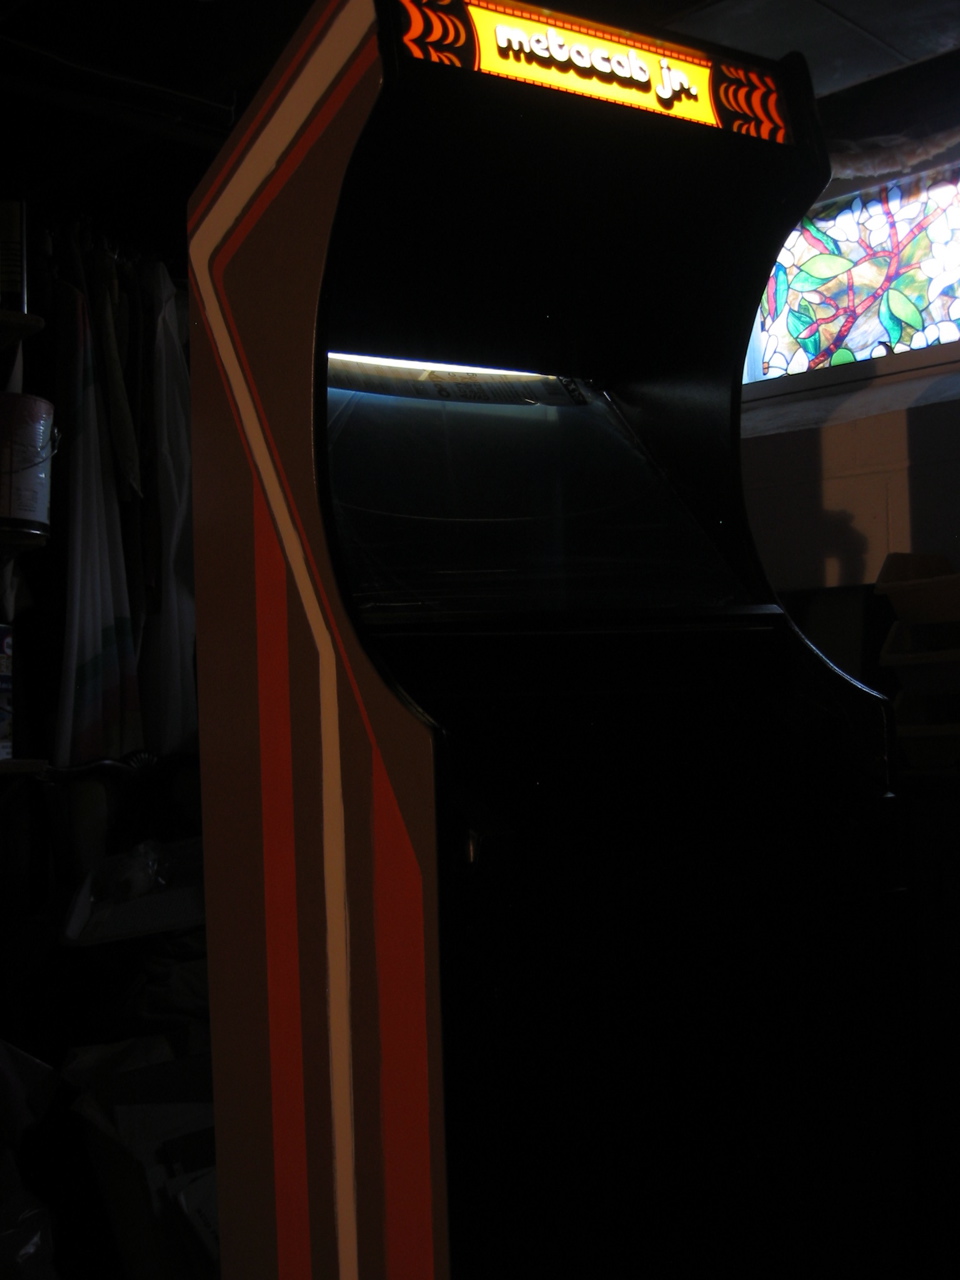
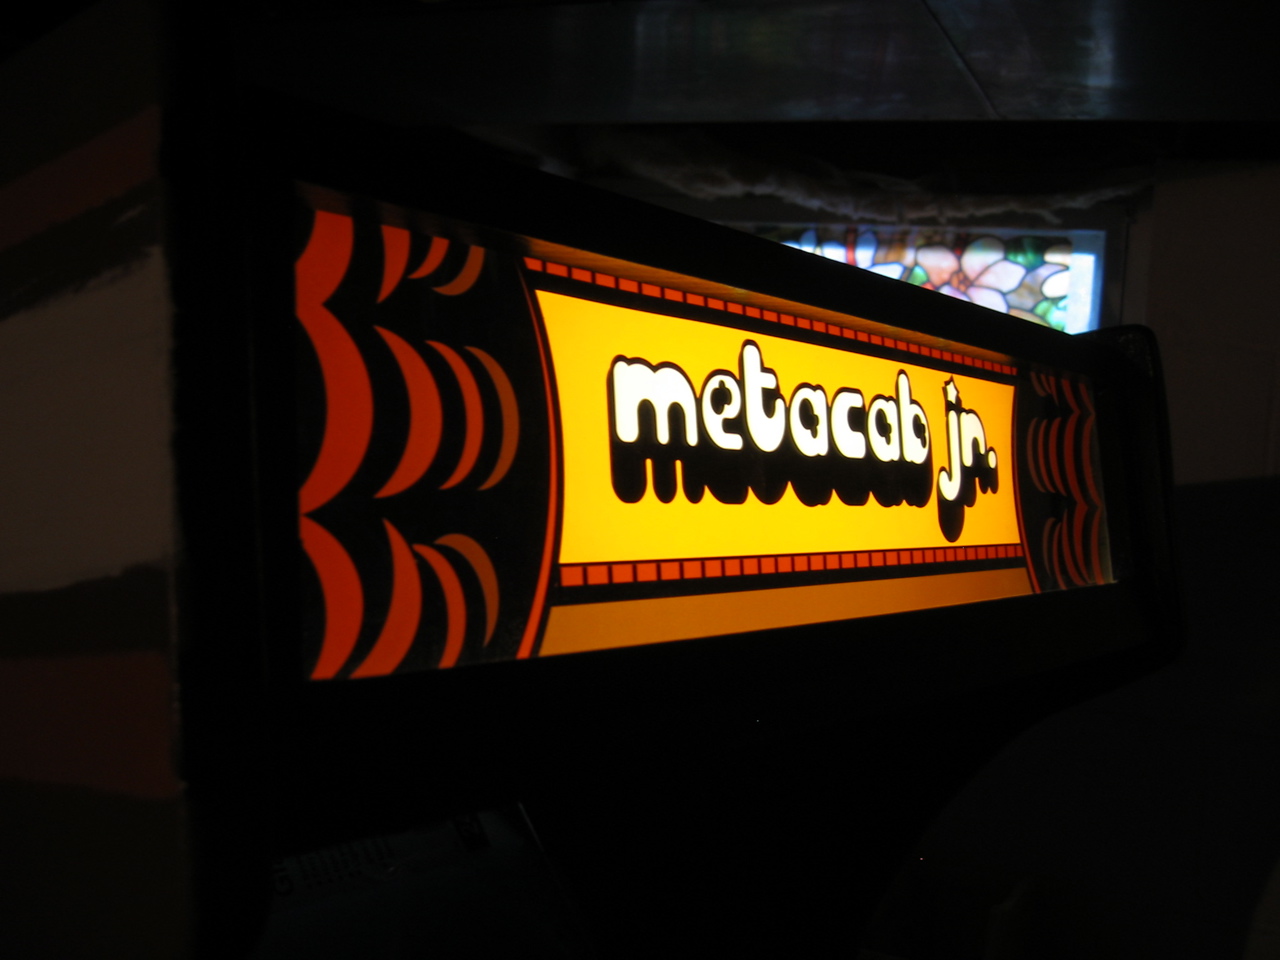
The marquee area was easy enough to make room for a light... we just removed the board that was there. I will be mounting an 18" compact fluorescent light there eventually, and drop some sandwiched plexiglass up there for the art.
And, easiest of all was routing the slot for the T-Molding along both side panels. Setting the depth was a bit tricky but once we switched from my dad's spring-loaded depth router to a more easy-to-control twist-depth router, we were quickly able to dial in on a distance that would properly center the 1/16" slot. The only real bummer there was that since the MDF is only 5/8", I'm pretty much limited to black t-molding. No biggy. When Metacab Sr. is built, it will be done from scratch with 3/4" MDF so as to allow for a full variety of color choices.

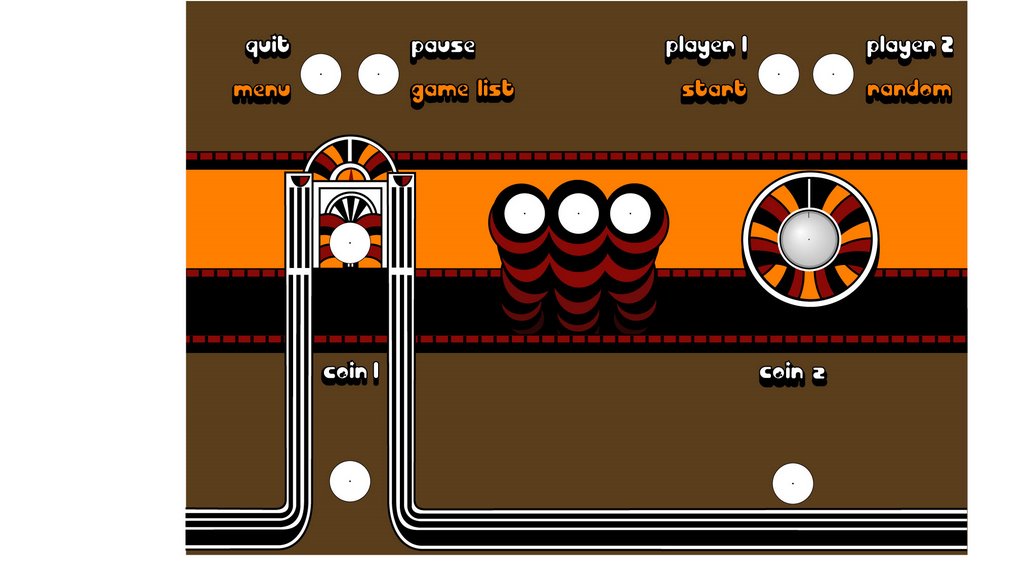
What's left? lots! Despite putting in roughly 16 hrs this weekend, I'm probably only about 1/2 done. I still need to decide upon a final CP layout and put that all together. I need to mount the CP to the cabinet. Need to install the plexi for marquee and monitor bezel. Need to finalize artwork and get printed a marquee and CP overlay. Need to re-install the kickpanel/door. Need to wire and install the marquee light and powerstrip to provide simple single-switch powerup. And, of course, need to do some finish sanding, prime, and paint the entire cabinet. I think I will be hand-painting my side art to save some money. If I go with a simple retro striping such as I'm currently envisioning, this should be simple enough to do with some acrylics and/or latex enamel. Once it's all finished, I'll apply a couple coats of acrylic clearcoat to protect the colors on the entire cab.