Below is a pic with the control panel off (I will be putting velcro on the rails, which combines with the tight fit to give it a snug mounting mechanism without any problems removing it later if I need to get at the wiring). As you can see the wood for the top trim of the marquee is too thick (and other stuff I have is too thin). I'll need to rip a good 3/4" off of that on my brother-in-law's table saw at some point.
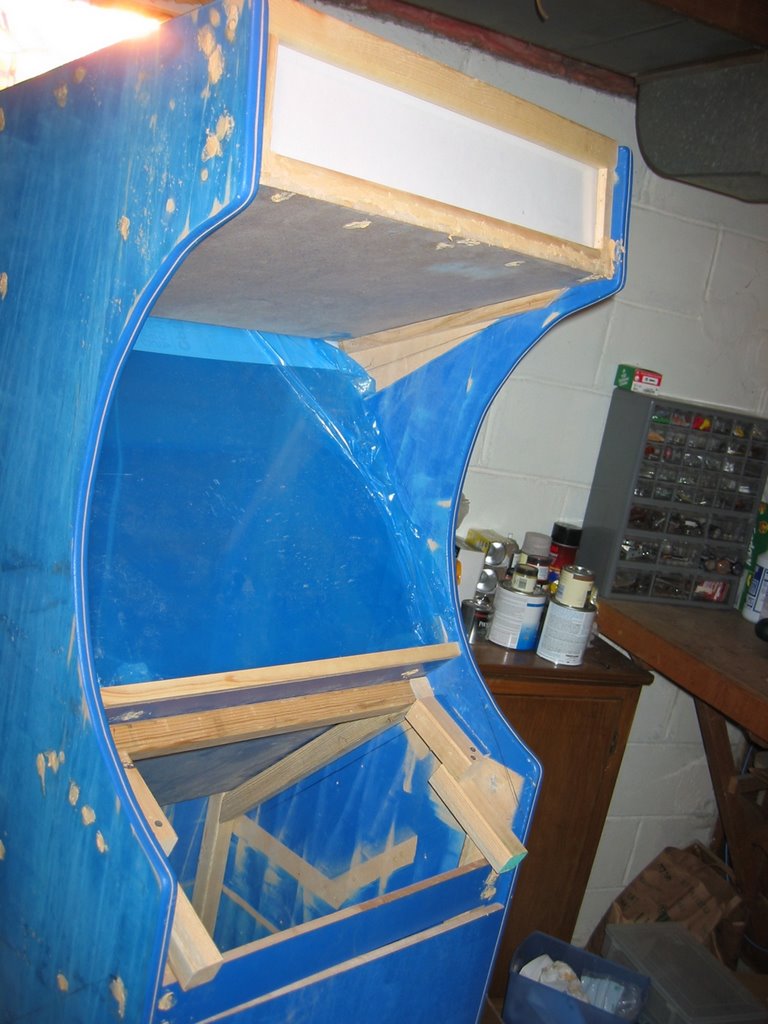
The primary upgrades we did this past weekend were to add a 2"x6" base to the cabinet, raising it up high enough so that I'm no longer looking straight into the marquee. I don't know if you can really tell from any of the pics but the original cabinet I found was TINY! Not only narrow but short. The fact that there was no lightup marquee at all either (just a piece of wood) so maybe that was why it being short wasn't a big deal. It's now a perfect height for me - much more comfortable and makes me feel like less of a giant (I'm only 6'1"!). We also finalized the mounting of the inner ceiling so that there's a nice track in there to insert the plexi for the monitor - it slides up and behind the back of the ceiling.

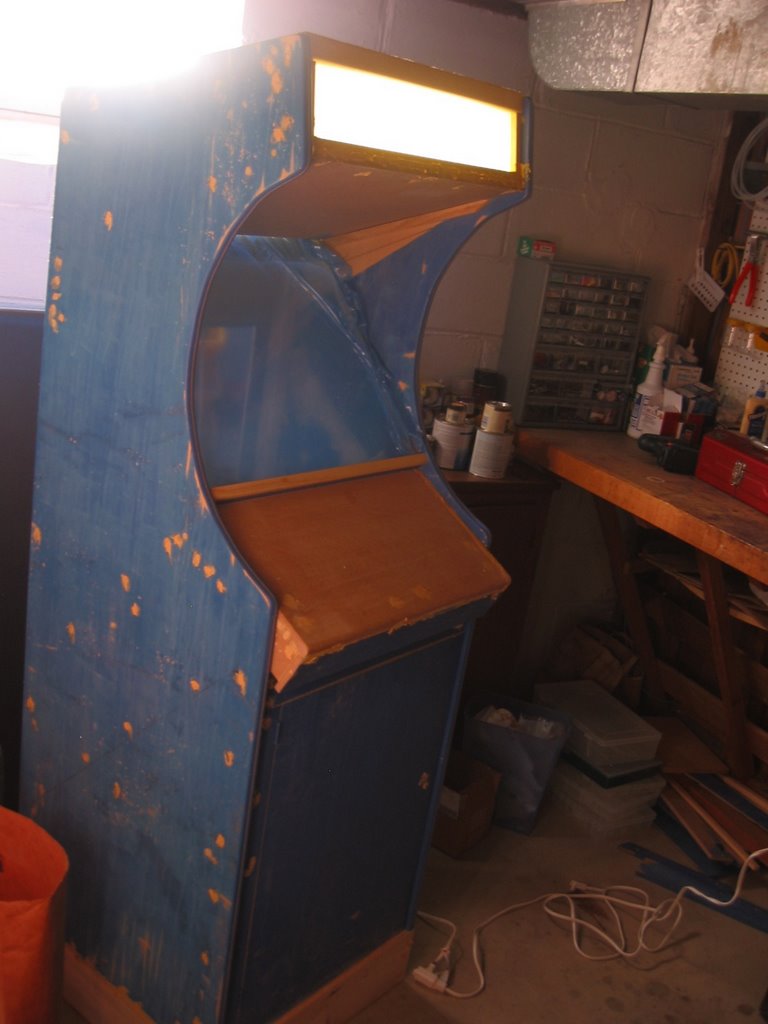
With the light on, there's a bit of back lighting coming down... I'll decide later (once it's painted & the monitor is installed) whether that''s annoying -- I may just need to stick something behind the light in the top cavity so that it can only shine forwards. For now I've just got a sized sheet of drawing paper in there and it gives a nice soft glow. I'll be playing with some media to see if there's any way to get a design in there without having to pay Kinko's for some oversized color printing... Here's a pic with the light on and the control panel inserted:
It's really coming together! Best of all, I think I'm finally at a point where I can start doing some work at night (assuming I still have energy) since almost nothing is left to do that requires power tools other than the CP itself. And that I can do in the garage once again now that spring is in the air. My wife has granted me 4 more precious hours of uninterrupted work this weekend so that should hopefully be enough to get the CP in order so that it's time for making painty.
The main things left to be done are these:
- rip marquee top board so that it doesn't stick up above the top fo the sides
- layout & drill/router the control panel
- finish sanding all the wood putty (applying more if needed)
- primer entire cabinet
- paint entire cabinet
- apply painting details to entire cabinet
- figure out a solution for the control panel visuals -- will require either adhesive pre-printed vinyl or some sort of coating to the entire thing which can be painted. I can't simply stick a printout under plexi due to the beveled corner design (well, I could but it would, I think, look & feel weird to have plexi not around to the front face of the CP).

No comments:
Post a Comment